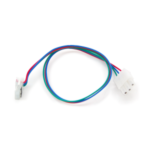
M1 Monitor Service Instructions

M1: Monitor Board Replacement

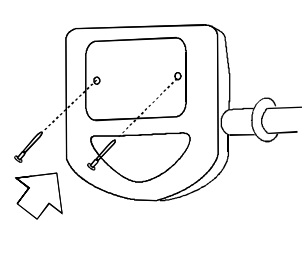
Step 1- Remove screws (2) fastening the battery cover at the rear of the monitor as shown.
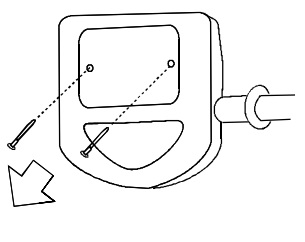
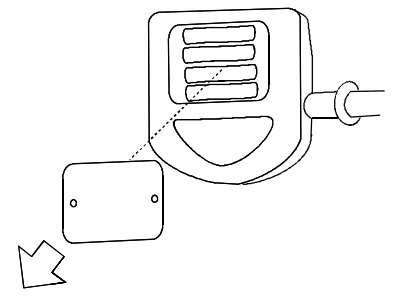
Step 2– Remove the Battery Cover as shown.
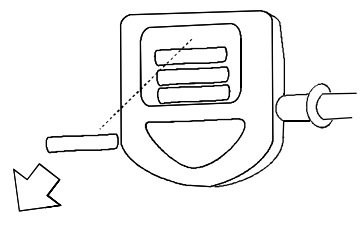
Step 3- Remove the Battery as shown
Step 4- Remove screws (4) fastening the Monitor Board Assembly to the housing as shown.
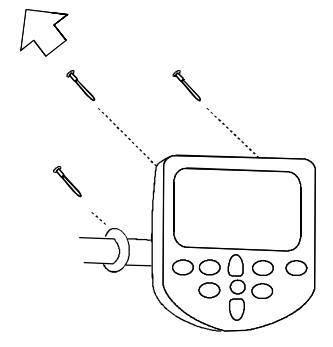
 

Step 5- Remove Monitor Board Assembly as shown.
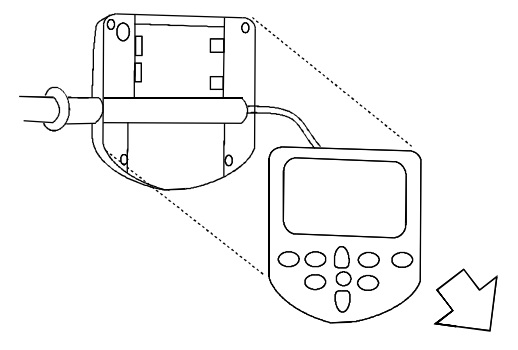
 

Step 6- Remove the Sensor Wiring Connector as shown.
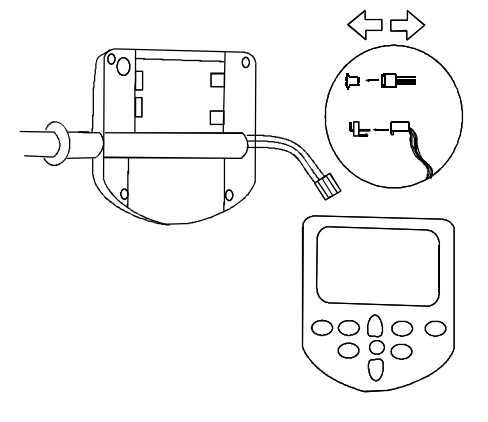
Step 7- Replace Monitor Board as shown. Be care to ensure that yoyu place the Sensor Wiring Connector correctly. The connector should be oriented so that the red wire is toward the outside edge of the board.
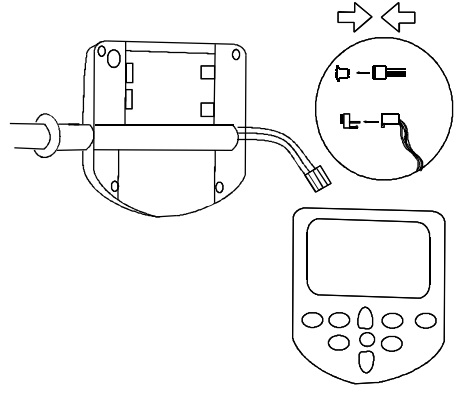
Step 8- Replace Monitor Board assembly as shown.
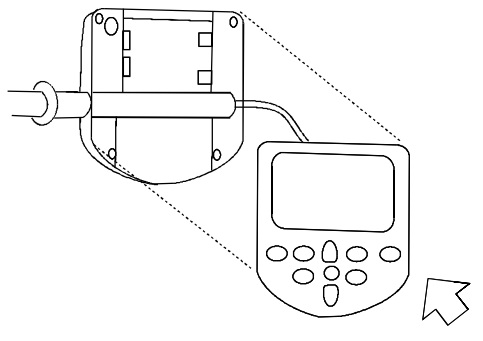
 

Step 9- Replace screws (4) fastening the Monitor Board Assembly to the Monitor Housing as shown.
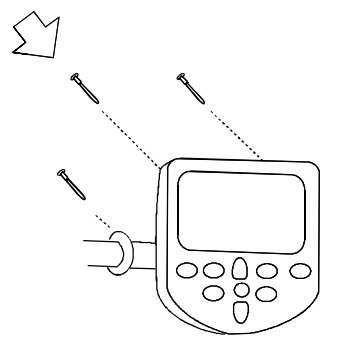
Step 10- Replace Batteries as shown.
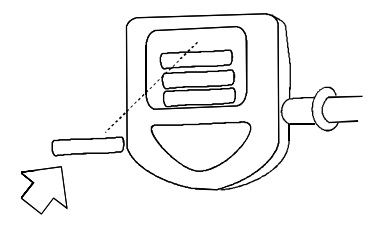
 

Step 11- Replace the Battery Cover as shown.
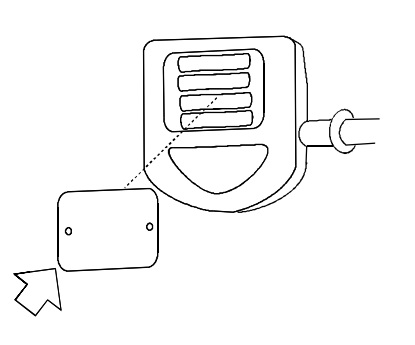
 

Step 12– Replace the screws (2) fastening the battery cover at the rear of the monitor as shown.
Related Articles

  • M1: Extrusion Replacement

    Step 1.  With the 5mm Allen key, unscrew the seat stops. There are two on the front and back of each rail. Step 2.  Peel the old extrusion off the...

  • M1: Monitor Wire Assembly Replacement

    Position the handle forward to the front Forward Riser pulley Carefully remove the Top Deck by removing the Top Deck bolts and upper Tie Rods. Gently lift the Top Deck...

  • M1: Forward Riser Replacement

    Step 1.  Place handle into the most forward position near the Forward Riser Pulley. Step 2.  Remove the handle rest bolts. Step 3.  Pivot back the footboard. Step 4.  Pivot back the...

  • M1: Seat Guide Wheel Replacement

    1. Undo the bungee. 2. Use your 5mm ratchet (or Allen key) to remove the fastners from the rear end pad (or wooden spacer on wood models). 3.  Slide the seat...